A box can disappear beneath a piece of cloth while its wrapping is still far from finished. The lid is covered, but two corners must remain free to make the knot. That is the useful distinction to notice when you first try a furoshiki (風呂敷), a Japanese wrapping cloth.
This guide explains the setup for wrapping a small box: choose enough cloth, find the four corners and keep the tying ends available. For the knot and its release, use the linked manufacturer’s photographs and video alongside your own cloth.
The three pictures are AI-generated illustrations of a fictional two-tone cloth and box. They show the arrangement of the corners, not measured dimensions or a tested wrapping demonstration.
Start with room around the box
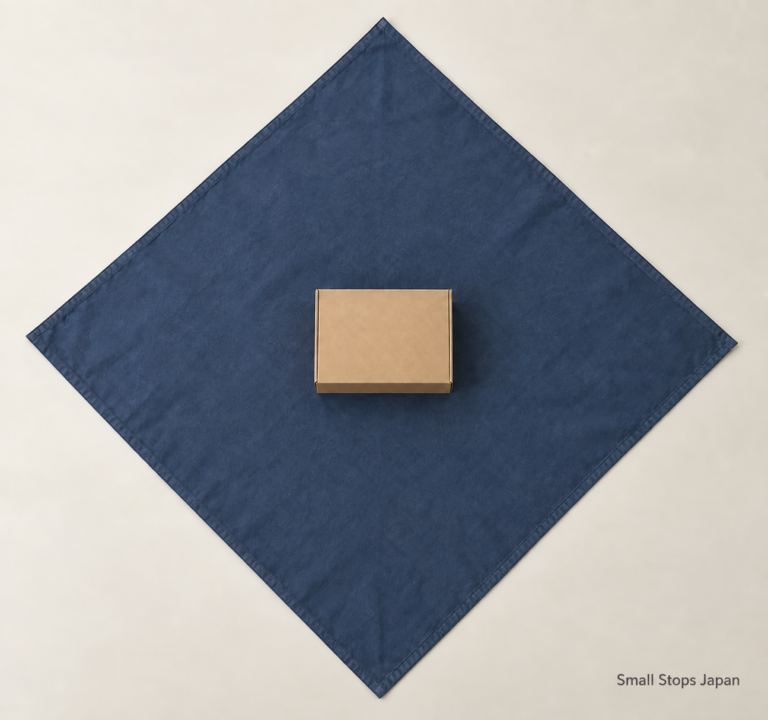
For a first practice, use an empty, low box and work on a table. It lets you concentrate on where the fabric goes without keeping loose contents in place. Look at the whole cloth before making the first fold: the box should leave room on all four sides.
Musubi’s size guide offers a rough gift-wrapping reference: the object should occupy about one-third of the cloth’s diagonal. It is a starting point, not a guaranteed fit. The box’s height and the chosen wrapping method also matter. Do not measure the illustration to choose your cloth.
Try bringing the two side corners over the box before committing to the folds. If their tips barely meet, there is little fabric left for a knot. Try a larger cloth or a smaller box. If one end is much shorter, first check whether the box has drifted away from the center.
Give each pair of corners a different job
In this example, the near and far corners cover the box; the left and right corners are saved for tying. Keeping those two jobs separate makes the arrangement easier to follow.
The illustrated cloth has a blue face and a gray face. Folding it over reveals the opposite face. Before starting with your own cloth, decide which face or part of a pattern you want to see on top, and try a loose fold to check. A reversible cloth can show both faces around the finished wrap.
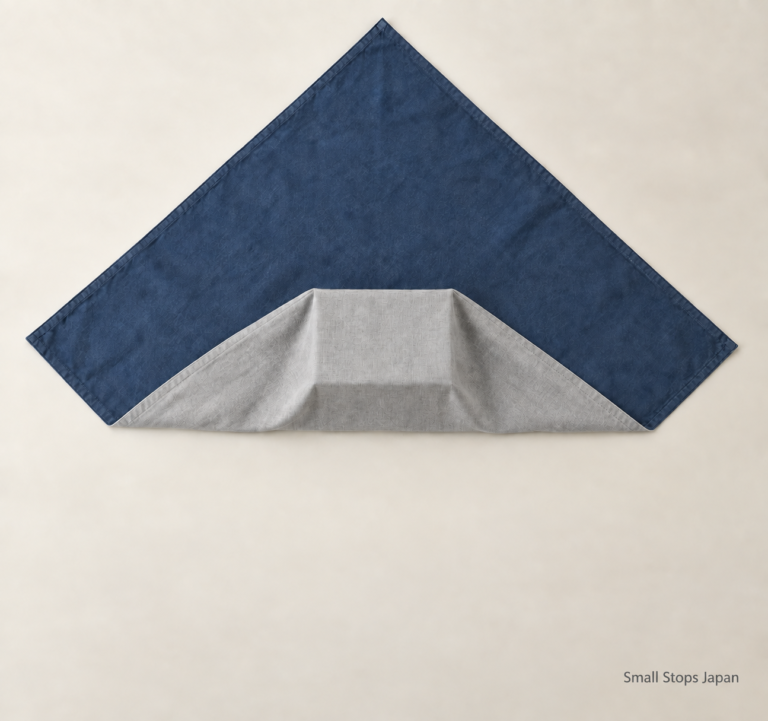
Musubi calls this basic box wrap otsukai-zutsumi (お使い包み). Its photographed sequence begins at the center, brings the near corner over and tucks its tip beneath the box, then covers it with the far corner and tucks away the excess.
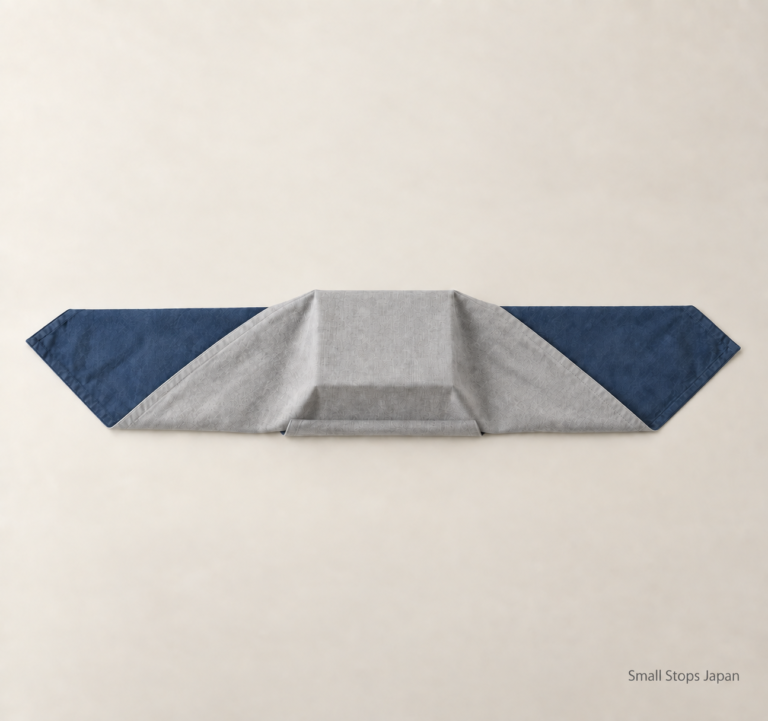
Before going further, find those two free corners again. If one is caught underneath, reopen the loose folds and free it. Covering the lid is only one part of the job; keeping usable ends is the other.
Tie and release it with the maker’s guide
The next action is a ma-musubi (真結び), or square knot. There is a separate tying stage after the arrangement shown above. The illustrations here do not show the paths of the ends through that knot.
Open Musubi’s knot-tying video, or use the photographs under 真結び on its basic wrapping page. The two ends are labeled a and b in the photographs. Follow one labeled end through both crossings; two repeated crossings in the same direction are not the intended square knot. The page is in Japanese, but the lettered photographs let you track the ends visually.
Then practice opening the knot while the box is still on the table. Use the photographs under 真結びの解き方 on the maker’s basic wrapping page. Keep the distinction between a free end and the knot itself in view as you follow the photographs.
For this first try, the useful result is being able to find all four corners again after opening the wrap. You can spread the cloth out and adjust the setup for another box. If you are also curious about the long, narrow cloth used for wiping hands, our tenugui guide starts with that different everyday use.